How Dell, Expedia and Others Accept Bitcoin Payments

Dell recently announced that they are accepting Bitcoin as a means of payment. Expedia announced last month they’ll start rolling out Bitcoin payments for their services. How are these companies implementing Bitcoin payments online?


Dell and Expedia use Coinbase.com. Coinbase is a popular US service for buying, selling and storing Bitcoins (they’re an exchange and offer a wallet). Unfortunately Coinbase is not available for Canadian customers.


NewEgg and TigerDirect (online electronics stores) use BitPay.com. BitPay is targetted at developers rather than business people. BitPay is like Stripe for Bitcoin. BitPay can be used by Canadian businesses.


The three main Canadian exchanges have their own merchant integration services (with varying ease of use):


CaVirtEx (the largest exchange in Canada)

QuadrigaCX (here’s a video aimed at merchants that they published today:

https://www.youtube.com/watch?v=rjkltZ_C6rU)

Vault of Satoshi (the most complicated API)

Stripe, a popular credit card payment integration service, has announced that they will soon offer a Bitcoin payment method but it’s currently in beta.


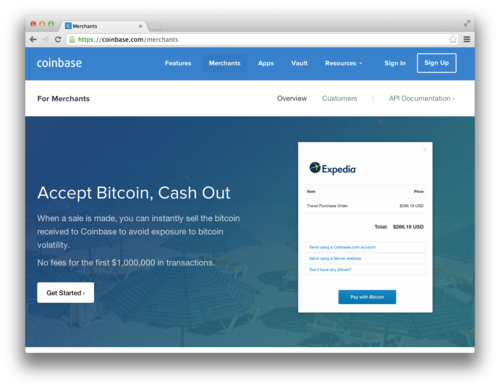
Screenshot of Coinbase merchant landing page.

Buying Bitcoin at Decentral

At Decentral we have a convenient bitcoin teller machine that makes purchasing bitcoin easy. To use the machine at our location, simply follow these steps:


  1. Click ”Start” on the main screen when you are ready to begin. The price per bitcoin displayed at this point will be your purchase price. Note, of course, that you can always buy fractions of a bitcoin, but the minimum amount per transaction is $5 Canadian.
    Enter your phone number and then the verification code that you receive by SMS message.
  2. Choose “Buy Bitcoin”
  3. Next, choose “Yes” if you already have a bitcoin wallet. Choose “No” if you would like the machine to print a paper wallet.
  4. Place the QR code for your wallet’s public receive address in the scanner; it’s the top-right horizontal slot.
  5. Start inserting your Canadian cash into the bill acceptor, which will have a green light activated to indicate that it is ready.
  6. After you’ve inserted your individual bills, click “I’m Done” to complete the transaction.
  7. Congratulations, you now have bitcoin! A confirmation of the transaction will be sent via SMS to your phone. You can also print a paper receipt for your records.
    Note that the machine will read only the QR code for your public bitcoin address; you cannot type the address in manually. Fortunately, all bitcoin wallet systems on your phone or computer are able to display a QR code for the wallet’s public receive address.


If you have any questions about the process, please come by Decentral and we’ll help you get started. 64 Spadina Ave. Toronto, ON. Canada.